|
|
|
|
Article ID: 64
Last updated: 05 Sep, 2008
Setting quotas on user accounts in the GUI Create your users and give them access to the shares in which they will have a quota.
Click on a user link and scroll down to Function: Quota
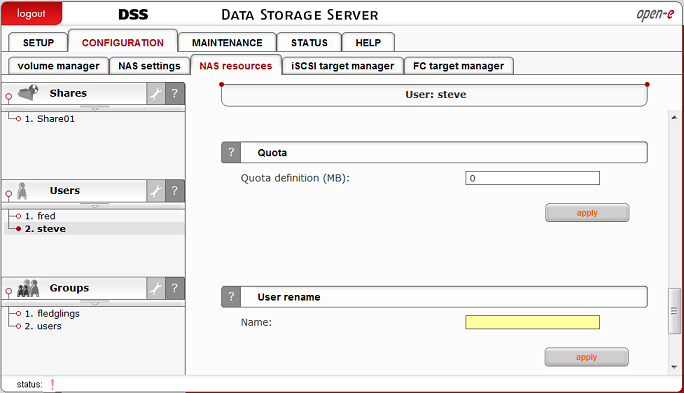 Now enter the amount in MB of the quota limit in the Quota definition field.
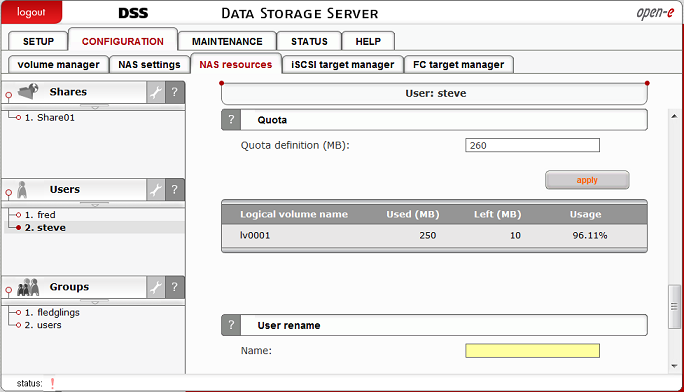 You can check to see if the quota was applied by going to the share on your network. If you attempt to add more data than the quota allows, you will receive an error message telling you to add space. Notice the numbers as they are now in the screenshot above. You can also upload or download quota files in .csv format to your existing configuration. When you download, you are saving a previously used .csv file in your system as the current quota configuration. Any currently used quota configurations will be overwritten. When you upload, you browse to find a created .csv file saved on your network and when you apply it, it becomes the currently used quota file. Any quota configurations already in place will be overwritten.
Click on the Users link in the left pane.
Now scroll down to Function: Quota for users (upload/download) 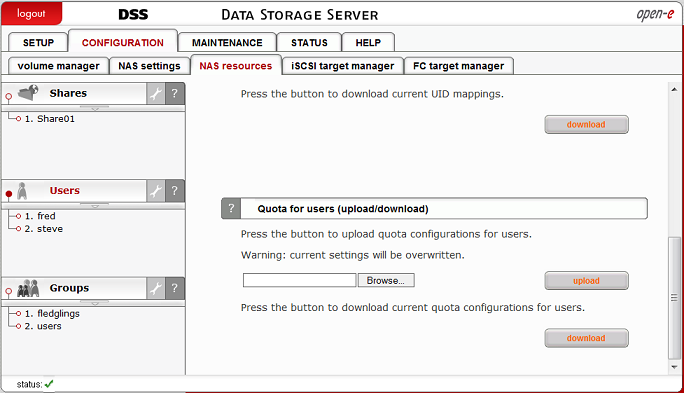 Now, before we browse for a quota file, let’s create one. You can use MS Excel, or any other program that’s capable of saving files in .csv format. For users, the syntax is very simple. username;xxxxxx (the x quota amount should be in kilobytes) Here’s an example: steve;307200 Put additional users on subsequent lines in your list. Then be sure to save your file in .csv format. NOTE: Your filename format should follow this syntax: quota_filename Example: quota_usersfile Then click the Browse button to find your file. Click ‘Upload’ to apply the new quota file to your configuration. The change takes place immediately. For our example, we have increased the quota amount on user ‘steve’ from 260MB to 300MB. After creating your user quota file, locate it in the GUI using the ‘Browse’ button. We’re using Windows Vista as our client. 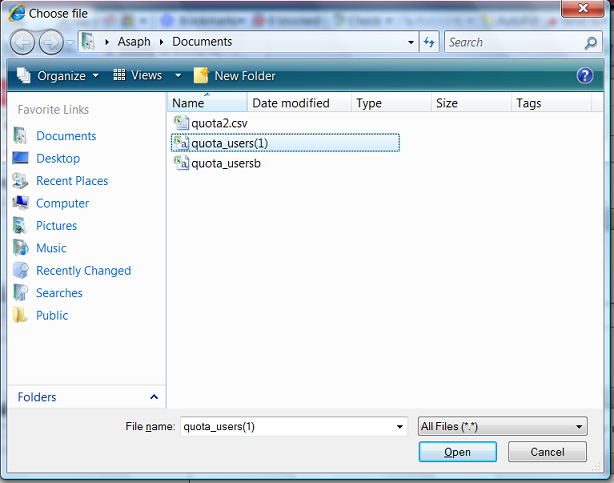 After you open the file, click ‘Upload’.  When the file has been uploaded, you should see this screen:
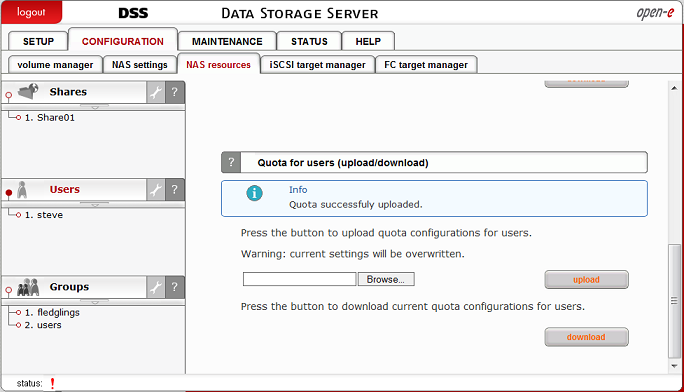 Now, go back to your user page to verify the change in the quota amount.
CONFIGURATION -> NAS resources -> Users -> [username] 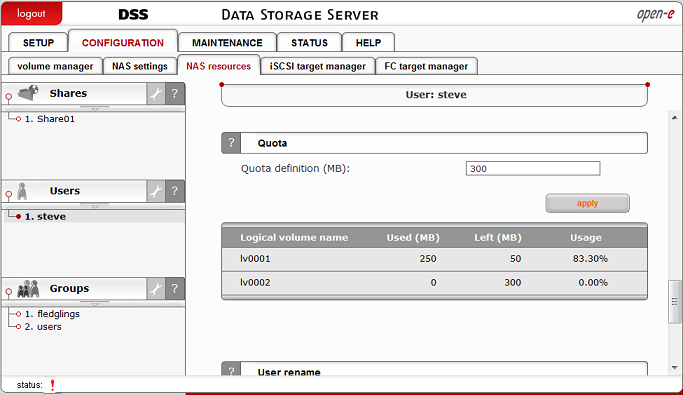 Notice now on the LV to which Share01 has been assigned, the total quota limit has been reset to 300MB, the amount of space left has increased to 50MB, and the usage percentage has dropped accordingly. This confirms that your quota has been reset to the new file successfully.
Share this article
Link to article
|

The Knowledge base is managed by Open-E data storage software company.